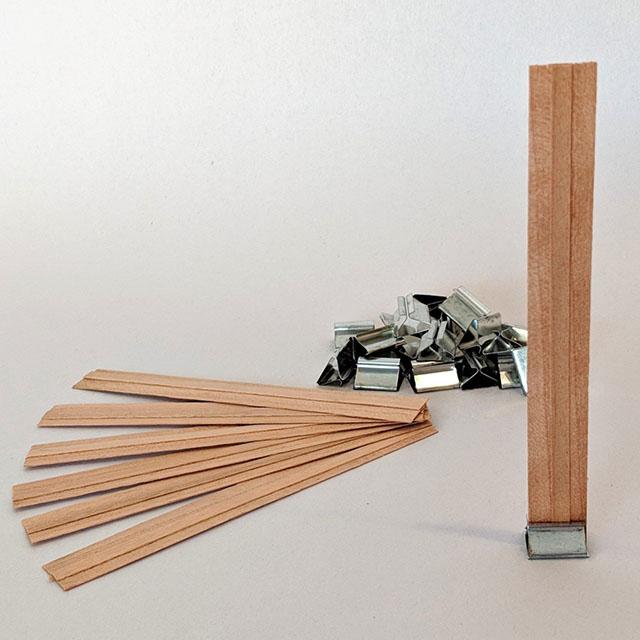
The gentle crackling of a wooden wick enhances the ambiance of your space, yet wooden wicks are often known for their inconsistent burning tendencies, frustrating both candle makers and customers alike. So why does this happen sometimes, but not all of the time?

Wood wicks are a natural wood product, and like any other wood product, there are sometimes knots in the wood that are not visible to the eye. These knots can create issues with burning, such as a wick that won't stay lit or low flames.
Think of a wick like a straw. The wax travels up the wick which is what fuels the flame. If there is a knot in the wood, the wax cannot reach the flame as easily. This is also why trimming your wood wick between uses is so important. Charred bits of wood on the top of the wick will also reduce the flow of wax.

Photo Above: The difference a quick trim can make.
When we test our candles (every change in formula, including new scents get thoroughly safety and quality tested) we are looking mainly for: a full, or near full melt pool at 4 hours, a good hot throw (the scent you smell when it's burning) and the tin temperature not getting too hot. Once in a while, even our test candles will experience a low flame, but as long as we are still getting a good hot throw, and the wax is melting close to the edge at 3 to 4 hours, we call this a pass.

This candle is experiencing a low flame, but 2 hours in, the melt pool is beginning to reach the edge and even the small amount of wax around the edge of the jar is catching up (a little wax around the outside is perfectly fine, especially on the first 2 burns, this will ensure the tin won't get too hot). Also the scent is fantastic!

The same candle at 3.5 hours. The hang up around the sides is catching up, even though the flame is still small. Patience is paying off.
If you are experiencing a low flame, do not try to remove wax or use tin foil around the edges to prevent "tunneling". As long as there is still a flame, even if it is small, try give it 4 hours if possible to see if the melt pool is getting towards the edge. Often times, even a low flame can still produce a great hot throw and full melt pool and it will not reduce the total burn time of your candle.
If in very rare cases, your candle snuffs itself out, let the wax cool, trim the char off the wick and try lighting it again. The only time we have been able to replicate a candle blowing itself out, was when there was either too much wax in the pool and the wick was drowned (when we purposely tried to push any wax around the edge into the pool), or when we removed wax with paper towel. At first it perked up, but we kept removing wax, then the flame died out.
Tips for lighting and maintaining wood wick candles:
1. Hold the candle on an angle when lighting. This will let the flame draw up the wick.
2. Allow your 1st burn to be a minimum of 3 hours, but ultimately 4 hours is usually best. Our candle tins have a wide opening, which can require a longer 1st burn than our taller more narrow glass candles. If the 1st burn doesn't reach the edge or close to the edge, you are way more likely to have a candle tunnel.
3. Trim off the charred bits of wick in between uses - Every time!
Got anything more consistent?
Are you someone that prefers to just light a candle and not worry so much about it? Well don't worry, we are beginning to make all of our candles with cotton wicks as well. This will give you the option of purchasing a wooden wick, or a cotton wick in most of our candle scents.
*Please note, cotton wicks also need to be trimmed between uses. Our cotton wicks perform best at around 1/4" - 1/8" in length and it is important to remove any "mushroom" tops before burning.


